 Field Protocol • Abisko & Troms
The Five-Step Sequence Before Pressing the Shutter
When cold wind bites at exposed skin, photographers tend to rush: they plant the tripod in the first snowbank, shoot ten bracketed bursts, and hurry on. That habit produces cluttered frames and missed environmental details. Instead, practice a deliberate five-step sequence on every stop:
1. Thermal & Footing Check (60 seconds): Before touching your camera bag, adjust your parka vents so you are neither sweating from the hike nor chilling in the breeze, and test the stability of the snow crust or shoreline rocks beneath your boots.
2. Binocular Scan (3 minutes): Scan 360 degrees for wildlife presence, tide crack movement, wind-drifted snow plumes on upper ridges, and micro-patterns across the valley floor.
3. Naked-Eye Framing & Focal Choice (2 minutes): Decide what physical relationship you are documenting—for example, how wind-scoured sastrugi align with a distant glacial trough—and choose one lens before opening your pack.
4. Deliberate Metering & Depth of Field: Set your tripod without extending the center column, meter the brightest sunlit snow texture at +1.3 to +1.7 EV, and focus manually using magnified live view.
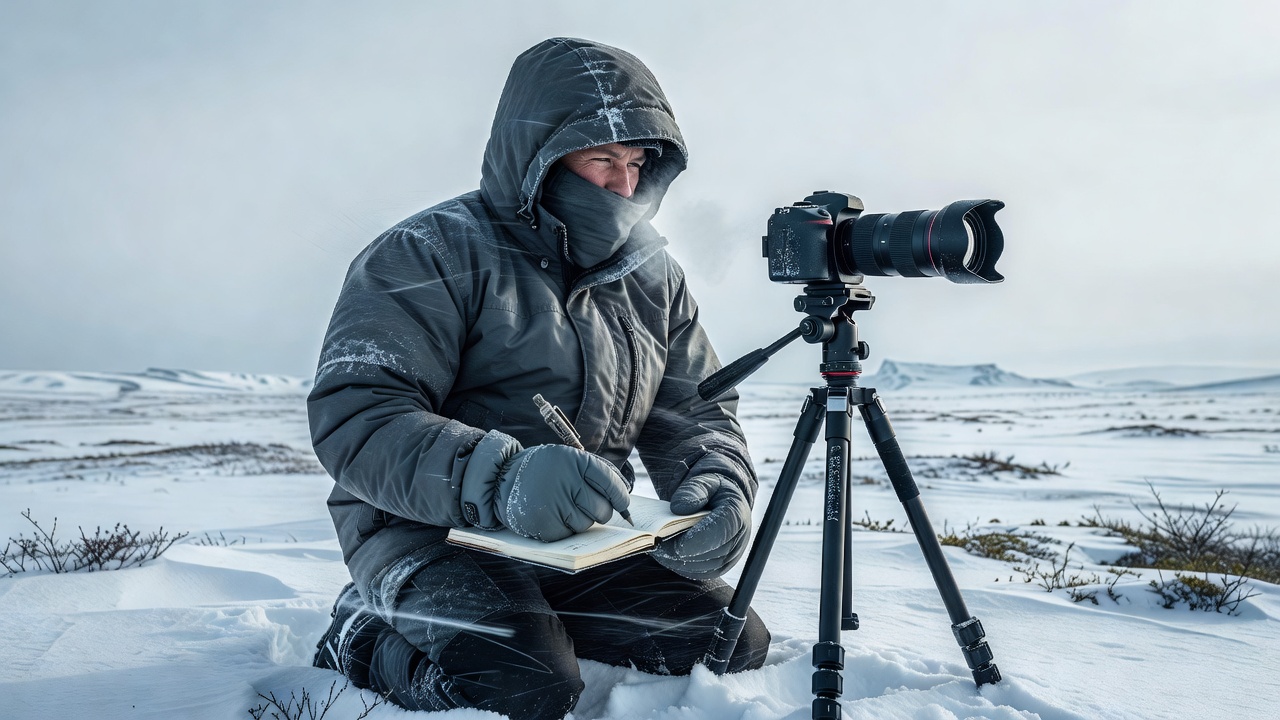
5. Pencil Field Log: Write the UTC time, approximate compass bearing, sky cover, and ice or landform type in a small paper notebook with a graphite pencil (ink freezes at −15°C).